The sunburst is the most iconic guitar finish there is — and one of the most satisfying to spray when it comes together. It looks complex, but the technique is straightforward once you understand the layering sequence. Whether you are going for a classic two-tone (amber to black) or a three-tone (amber, red, black), the process builds up in transparent layers that let the wood grain show through.

Two-tone vs three-tone
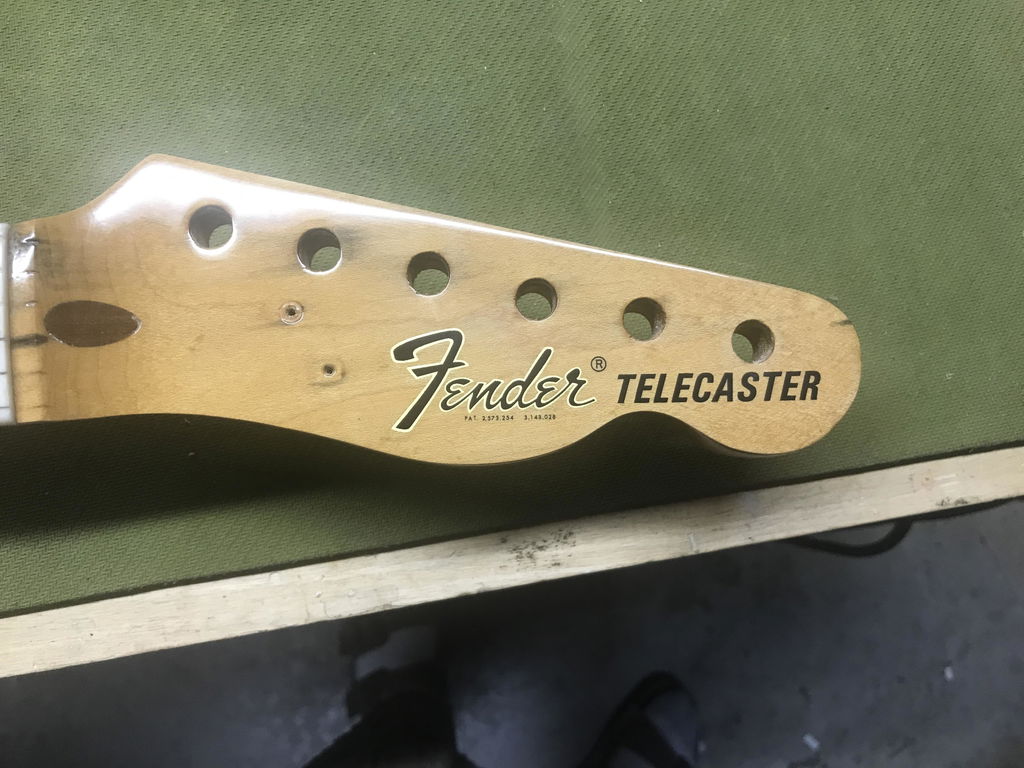
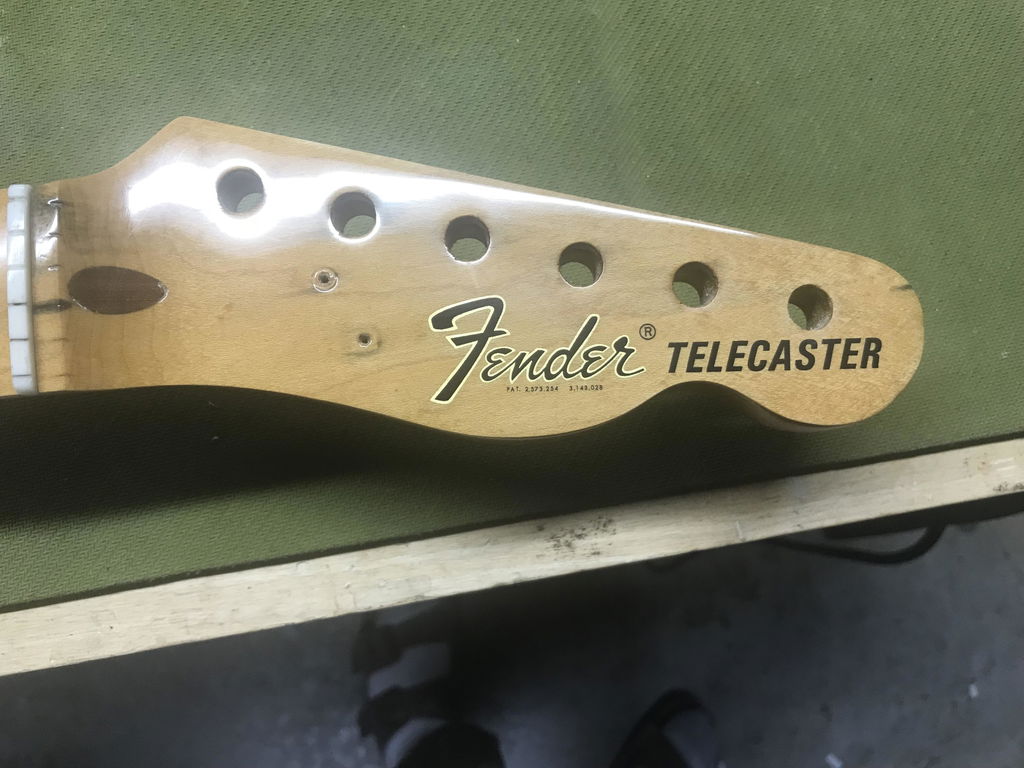
A two-tone sunburst transitions from a light amber or yellow centre directly to dark brown or black at the edges. This is the original Fender style from the early Telecasters and the pre-1958 Les Paul — simpler, bolder and slightly easier to execute. A three-tone sunburst adds a red or cherry band between the amber centre and the dark edges. This is the classic late-1950s look for both Fender and Gibson instruments and requires one additional colour stage.

Materials
You will need amber or yellow tinted nitrocellulose lacquer for the centre, dark brown or black tinted lacquer for the edges, and (for three-tone) a red or cherry tinted lacquer for the mid-band. Alternatively, you can use wood dyes for the colour stages and untinted clear lacquer over the top — this is the traditional Gibson method and produces deeper, more translucent colour because the dye penetrates the wood rather than sitting on top.
You will also need a sanding sealer, clear nitrocellulose for the final coats, and all the usual finishing supplies — sandpaper through to polishing compounds. A spray gun with adjustable fan pattern is ideal, though aerosol cans can work for smaller bodies if you mask carefully.
Preparation
Sand the body to 320 grit and apply grain filler if needed (ash and mahogany require it; alder and maple generally do not). Once the filler has cured and been sanded back, apply two to three coats of sanding sealer to create a smooth, even base. Sand the sealer lightly with 400 grit when dry.
If you are using the dye method, skip the sanding sealer on the body face — the dye needs to penetrate bare wood. Seal the back and sides only, and mask them off before applying dye to the top.
Stage 1: The amber base
Apply the amber or yellow tint across the entire body. For the lacquer method, spray two to three light coats of amber-tinted nitro, allowing each coat to flash off before the next. Do not build it up too thick — you want a warm golden glow, not an opaque yellow layer. The wood grain should be clearly visible through the amber.
For the dye method, apply amber wood dye with a cloth pad or spray gun, working evenly across the surface. Dye dries quickly and can be built up in multiple light applications for deeper colour. Let the dye dry completely before moving on.
Stage 2: The red band (three-tone only)
This is where the sunburst starts to take shape. Using red or cherry tinted lacquer (or dye), spray around the edges of the body, fading inward. The key technique is to keep the spray gun moving in smooth arcs, following the contour of the body edge. Start each pass off the body, sweep across the edge, and finish off the body — never start or stop the spray on the guitar itself, as this creates blotchy dark spots.
The red band should extend roughly a third of the way in from the edge. Overlap each pass slightly, building the colour gradually. Three to four light passes give much better results than one or two heavy ones. The transition from red to amber should be soft and graduated, not a hard line. If you are using a spray gun, a wide fan pattern with reduced fluid helps create a softer fade.
Leave the centre of the body completely clear of red — this is where the clean amber or natural wood will show through in the final finish.
Stage 3: The dark edge
Apply dark brown or black tinted lacquer to the very edges of the body, fading inward to overlap the outer portion of the red band (or the amber, for a two-tone). This is the narrowest colour band — typically only 20-30mm wide, concentrated right on the edge.
Use the same sweeping technique as the red stage, but with an even tighter spray pattern focused on the edge. The dark colour should be opaque at the very edge and fade to nothing within a few centimetres. Build it up gradually — it is much easier to add more darkness than to remove it. Pay extra attention to the waist of the body, the horn tips and the cutaway area, where the burst traditionally follows the contour closely.
Step back frequently and assess the overall balance. Both sides of the body should match, and the burst should follow the body outline evenly. It is natural for the burst to be slightly wider on the lower bout than on the upper bout.
Clear coats
Once you are happy with the burst and all the colour coats have dried thoroughly (overnight at minimum), apply six to ten coats of clear nitrocellulose lacquer over the entire body. This encapsulates the colour layers, protects the finish and provides the material you will later level-sand and polish to a mirror shine.
Allow the clear coats to cure for at least two weeks — longer if possible. Nitrocellulose shrinks as it cures, and level-sanding too early will result in witness lines (where the edges of the colour coats telegraph through the clear) and sink marks (where the clear settles into grain pores).
Level sanding and polishing
Once fully cured, level-sand the finish starting at 800 grit on a flat block, working up through 1000, 1500 and 2000 grit. Use plenty of water as a lubricant. The goal is a perfectly flat surface with no orange peel, drips or dust nibs. The finish will look completely matte after sanding — this is normal.
Polish with a cutting compound to restore the gloss, then follow with a fine finishing compound for a mirror shine. Hand polishing works but is slow — a machine polisher with a foam pad speeds things up enormously. See our guide to hand polishing for detailed technique.
Common mistakes to avoid
Spraying the colour coats too heavily is the single most common mistake. Sunburst colours should be built up in multiple thin passes — heavy coats obscure the grain, create hard colour transitions instead of smooth fades, and risk runs and sags. Another frequent error is not allowing enough cure time before level sanding — if you sand into colour coats that have not fully hardened, you will pull the colour and ruin the burst. Finally, check your burst symmetry from the playing position, not just from directly above — asymmetric bursts are surprisingly obvious to the eye once the guitar is assembled and being played.