Relicing is the art of artificially ageing a guitar finish to give it the character and patina of decades of playing. When done well, it transforms a pristine instrument into something that looks and feels like a well-loved vintage piece. Here is how to do it properly — and how to avoid the mistakes that make a relic job look fake.
Start with a complete finish
The best relic jobs start with a pristine, fully cured nitrocellulose finish. Apply your colour coats, clear coats, level sand and polish everything to perfection first — then age it back. A real vintage guitar was once new; the wear happened over time to a complete finish. Allow your lacquer to cure for at least two to three weeks before relicing. Freshly sprayed nitro is too soft and will react unpredictably to ageing techniques.
Lacquer checking
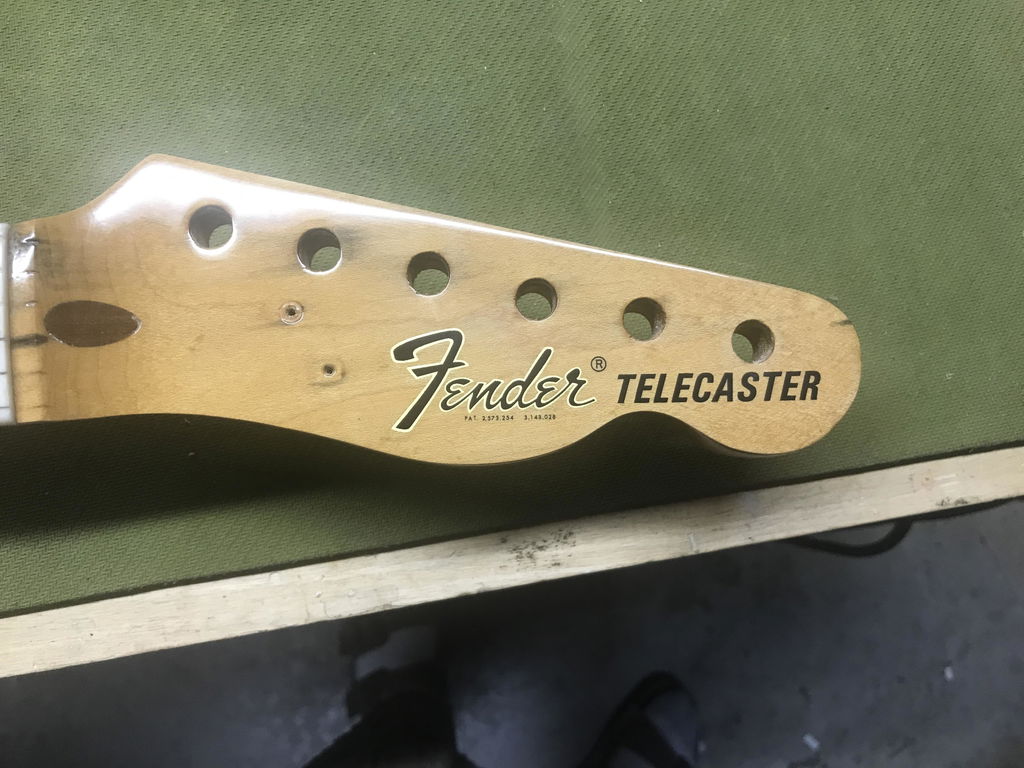
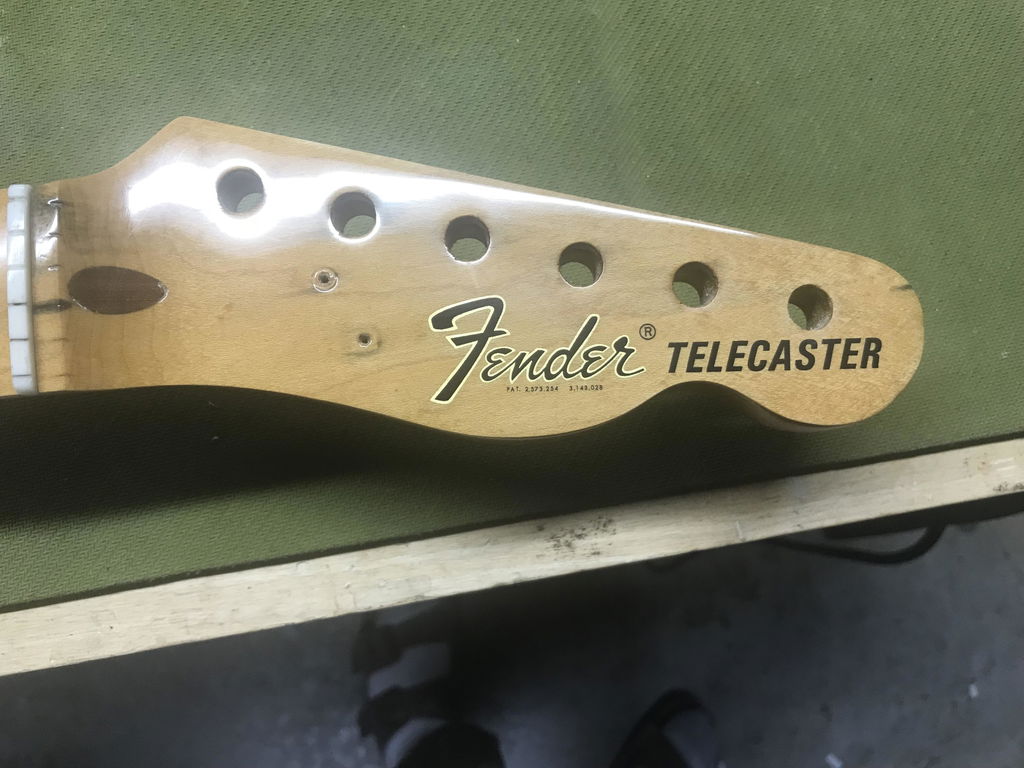
Checking — those fine spiderweb cracks across the lacquer surface — is the hallmark of a genuinely aged nitrocellulose finish. It happens naturally over years as the lacquer shrinks and becomes brittle through repeated temperature and humidity cycles. You can accelerate the process with thermal shock.
The most reliable method is to place the finished body in a black bin bag and leave it in a chest freezer for two to four hours, then bring it straight into a warm room (or use a heat gun on a low setting from about 30cm away). The rapid expansion of the lacquer creates authentic checking patterns. You may need to repeat the cycle several times. Thicker finishes check more dramatically — if your clear coat is very thin, you may get minimal checking regardless of how many freeze cycles you do.
A few tips for realistic checking: the pattern should follow the grain direction on flat areas and radiate outward from edges. Avoid checking the neck — most vintage guitars show checking primarily on the body. If the checking is too subtle after freezing, lightly misting the surface with cellulose thinners from a distance can make the cracks more visible, but use extreme caution — too much thinner will dissolve the finish entirely.
Wear patterns
Study real vintage guitars before you start wearing through the finish. Wear happens in predictable places — the forearm contour where your arm rests, the area below the strings where your pick hand moves, behind the bridge where your palm mutes, and around the jack socket and strap buttons. Random wear in places that would never see contact is the fastest way to make a relic job look artificial.
For light wear through the clear coat to the colour underneath, use 600-grit wet-and-dry paper with a light touch. For heavier wear down to bare wood, start with 320-grit and work the area gradually. The edges of the body wear through first on real guitars — thin the finish on the horn tips, the edge of the lower bout, and around the cutaway. Use a piece of denim wrapped around a block to simulate years of contact wear on flat areas — it gives a more natural, graduated wear pattern than sandpaper alone.
Buckle rash
The back of the guitar is where belt buckle contact creates clusters of small scratches and dings. Use a bunch of keys, a real belt buckle, or a small bag of bolts — press and drag lightly in the area where your belt would contact the guitar. The scratches should be concentrated in an oval area in the centre of the back, roughly where the guitar sits against your body. Keep the scratches shallow and overlapping rather than deep individual gouges.
Dings and dents
Small impact marks add realism but are easy to overdo. Drop a screwdriver or socket wrench onto the body from a height of about 15cm to create small, natural-looking dings. Concentrate these around the edges and on the back — the top of a played guitar tends to have fewer large dings because it faces away from most impacts. A few well-placed marks are far more convincing than covering the entire body in damage.
Hardware ageing
New, shiny hardware next to an aged finish looks wrong immediately. Chrome and nickel parts can be dulled with fine steel wool (0000 grade). For more aggressive ageing, soaking chrome parts in a solution of muriatic acid (diluted hydrochloric acid) for 10-30 minutes creates realistic pitting and dulling — do this outdoors with gloves and eye protection. Brass and gold hardware can be aged with liver of sulphur solution, which creates a dark patina that can be partially buffed back for a worn look.
Screws and mounting hardware should show some corrosion around the heads. A light spray of saltwater left to dry overnight before wiping off creates convincing surface rust on steel screws. Plastic parts like pickup covers and knobs yellow naturally with UV exposure — leaving them in direct sunlight for a few weeks can start this process, or you can lightly tint them with a dilute amber dye.
Finishing touches
Once all your ageing is complete, the finish will look dusty and rough from all the abrasion work. A light hand polish with a fine compound brings back some lustre while leaving the aged character intact — you are not trying to restore the finish to a mirror shine, just enough to look like a guitar that has been occasionally cleaned over the years. Work the polish more on the areas that a player would naturally wipe down (the top, the neck) and less on the areas that accumulate grime (around pickups, behind the bridge).
Finally, rub a tiny amount of dark shoe polish or furniture wax into the checking lines and any deep scratches. Wipe off the excess immediately — this leaves just enough residue in the cracks to make them visible and to simulate years of accumulated grime. This single step can transform checking from barely visible to strikingly authentic.