Building your own electric guitar is one of the most rewarding projects a maker can take on. But before you start cutting wood, you need to know exactly what materials you will need from start to finish. This guide covers everything — from the raw timber to the final coat of lacquer — so you can plan your build, budget accurately, and avoid those frustrating mid-project trips to track down a missing supply.
Wood
The body, neck and fretboard are the three main timber components. For the body, alder and ash are the classic choices for bolt-on guitars (Fender-style), while mahogany is traditional for set-neck and glued-neck designs (Gibson-style). Swamp ash gives a lighter, more resonant body with pronounced grain; alder is more balanced and easier to finish. Most solid-body guitars use a body blank that is 44-45mm thick.
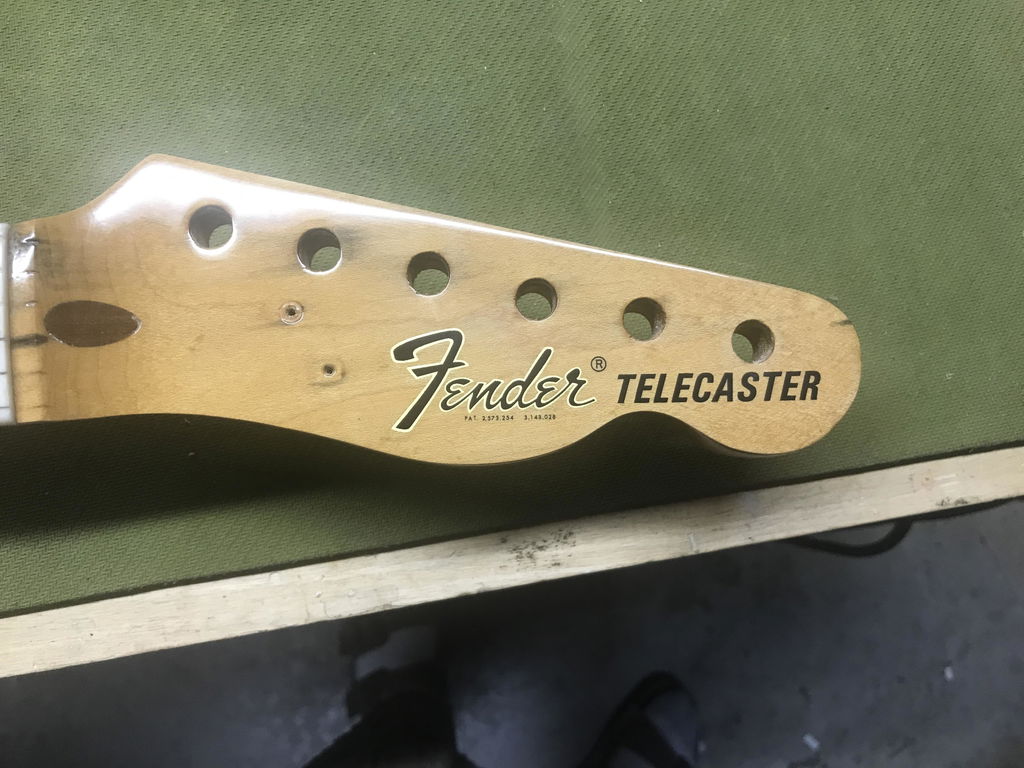
For the neck, maple is the standard — it is strong, stable and machines well. Mahogany is used on some designs, particularly where a warmer, rounder tone is desired. The neck blank needs to be quartersawn or close to it for stability, typically 25mm thick by 90mm wide by 700mm long for a 25.5-inch scale length.
The fretboard is glued to the top of the neck. Ebony, rosewood and maple are the traditional choices. Ebony is dense, smooth and almost black; rosewood is warm-toned with an oily feel; maple gives a bright, snappy response and is usually finished with lacquer (unlike the other two, which are typically left unfinished).
Binding and purfling
If your design includes body or neck binding, you will need binding strips in your chosen material — ABS plastic, celluloid, or wood. Standard body binding is 6mm × 1.5mm. Purfling strips (the thin decorative lines beside the binding) are typically 0.5mm thick in black-white-black laminate. Calculate the length you need by measuring the perimeter of your body — a standard Stratocaster-style body needs about 1.5 metres, while a Les Paul-style with a cutaway needs roughly 1.2 metres. Buy extra for mistakes.
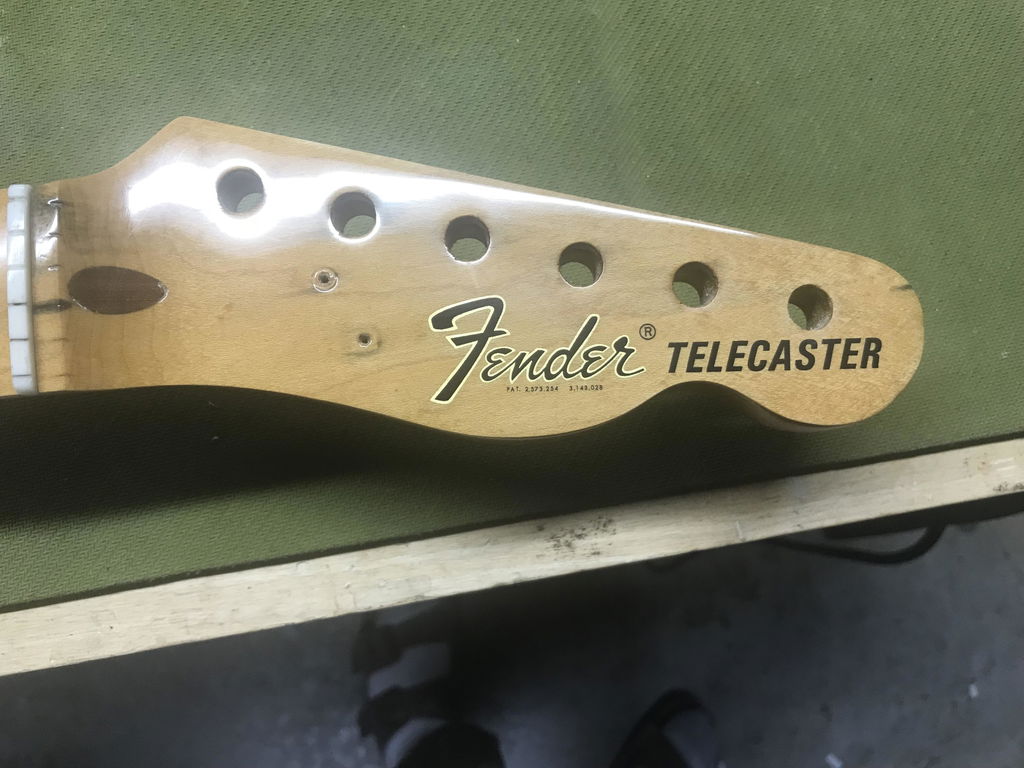
Inlays and fret markers
Fretboard inlays come in standard shapes — dots, blocks, trapezoids, split blocks — or you can cut custom designs from pearl and abalone blanks. At minimum, you need side dots (2mm or 2.5mm, usually pearl or luminescent) at the 3rd, 5th, 7th, 9th, 12th, 15th, 17th, 19th and 21st fret positions. A headstock veneer is optional but adds a professional touch — ebony, rosewood or figured maple are popular choices.
Fretwire and nut
Fretwire comes in different widths and heights. Medium-jumbo (approximately 2.7mm wide × 1.0mm tall) is the most versatile choice for a first build. You will need enough for 21-24 frets depending on your design — a one-metre length is usually sufficient. The nut can be bone, Tusq, brass, or graphite — bone is the traditional choice and offers the best combination of tone and tuning stability.
Finishing supplies
This is where your material list gets long, but each item plays a specific role in achieving a professional finish.
Preparation: Sandpaper from 120 through 600 grit for shaping and surface prep. Grain filler if you are using an open-grained wood like ash or mahogany — this fills the pores so your final finish is glass-smooth rather than textured. A sanding sealer goes on after grain filler (or directly onto close-grained woods like alder and maple) to seal the surface and provide a smooth base for colour coats.
Colour: Guitar spray paint in your chosen colour. For solid colours, you will typically need 4-6 coats. For burst finishes, you will need a base colour plus one or two tinted lacquers for the edges. Wood dyes are the alternative — they colour the wood directly while letting the grain show through, and are the traditional method for sunburst finishes on vintage-style guitars.
Clear coat: Nitrocellulose lacquer is the classic choice for guitar finishing. Plan for 6-10 coats of clear, applied in thin passes and allowed to dry between coats. Water-based lacquer and polyurethane are alternatives — they are more durable and easier to spray, but produce a different look and feel. See our comparison of clear lacquers for help choosing.
Levelling and polishing: Wet-and-dry sandpaper from 800 through 2000 grit for level sanding the cured finish. Polishing compounds (cutting compound followed by a fine finishing compound) to bring the finish to a mirror shine. A polishing pad or cloth for hand polishing, or a foam pad for machine polishing.
Adhesives
Wood glue (Titebond Original or similar aliphatic resin glue) for the neck joint (if glued), fretboard, and any structural joints. CA adhesive (superglue) in thin and medium viscosity for inlay work, binding, fret gluing and quick repairs. Two-part epoxy for inlay cavities where gap-filling is needed. You may also want solvent cement if you are using celluloid or ABS binding.
Hardware and electronics
This guide focuses on materials rather than hardware, but for completeness your shopping list should include: tuning machines, bridge and/or tailpiece, strap buttons, string tree(s), pickups, potentiometers, capacitor(s), output jack, pickup selector switch, control knobs, pickguard (if applicable), scratchplate screws, neck plate and bolts (for bolt-on designs), and strings. A pickguard blank lets you cut a custom shape if you cannot find a pre-made guard that fits your design.
Tools you will need
Beyond the materials, certain tools are essential: a router (handheld or table) for cavities, binding channels and neck pockets; a bandsaw or jigsaw for rough-cutting body and headstock shapes; a drill press for tuner holes and bridge mounting; files and rasps for shaping the neck profile; radius sanding blocks for the fretboard; fret installation tools (fretting hammer or press, fret nippers, crowning file, levelling beam); and spray equipment if you are not using aerosols (an HVLP gun and compressor for bulk finishing).


![[Incudo] Vintage Tortoiseshell Celluloid Guitar Binding - 1600x6x2mm](http://rothkoandfrost.com/cdn/shop/files/bf0caedb-8a7e-4c62-8a46-8cca74c88762.jpg?v=1747893430&width=600)