Oil finishes give wood a natural, tactile feel that lacquers and varnishes can't match. They're relatively forgiving to apply, don't require spray equipment, and bring out the grain beautifully. If you're finishing a guitar neck, a turned bowl, a piece of furniture or any project where you want to see and feel the wood — oil is worth considering.
How oil finishes work
Unlike lacquers and varnishes which form a film on the surface, oil finishes work by soaking into the pores of the wood and curing within the grain itself. This saturates the wood fibres, deepening the colour and emphasising the natural figure. Over multiple coats, enough oil builds up to form a very thin surface layer that provides a soft sheen and some protection — but nothing like the hard shell you get from lacquer.
This is what gives oiled wood its characteristic feel: smooth, warm and natural, rather than the glossy 'plasticky' surface of a polyurethane finish.
Types of oil finish
Tung oil is a natural drying oil pressed from the seeds of the tung tree. It cures by oxidation to form a hard, water-resistant finish. Pure tung oil takes several days between coats and needs many coats to build up, but gives excellent protection once fully cured. It darkens the wood slightly and has a warm, matte appearance.
Danish oil is a blend of oil (usually tung or linseed), varnish and solvent. The added varnish component means it cures faster and builds more protection per coat than pure oil. It's the most popular choice for general woodworking because it's easy to apply, dries in a reasonable time and gives a good balance of protection and natural feel.
Linseed oil comes in two forms. Raw linseed oil takes days or weeks to dry and offers minimal protection — it's mainly used to feed and condition wood rather than as a finish. Boiled linseed oil (BLO) contains drying agents that speed up the cure time to 24-48 hours, making it a practical finish for furniture, turnings and tool handles.
Surface preparation
Sand the wood smooth to at least 240 grit, and ideally 320 grit for a finer surface. The smoother the wood before oiling, the smoother the finished result. Remove all dust with a tack cloth or clean, dry cloth before applying oil.
Important: do not use grain filler before oiling. Grain fillers work by blocking the pores of the wood — the same pores that oil needs to penetrate. Using both together means the oil can't soak in properly. For more on this, see our post: Can Oil and Grain Filler Be Used Together?
Step-by-step application
Coat 1: Apply a generous coat of oil to the bare wood using a clean, lint-free cloth or brush. Work the oil into the surface, covering all areas evenly. The wood will absorb this first coat quickly — keep applying until the surface stays wet. Leave for 10-15 minutes, then wipe off any excess that hasn't been absorbed. Allow to dry for 24 hours.
Coats 2-4: Apply further coats in the same way. Each coat will absorb less than the last as the wood becomes increasingly saturated. Continue applying coats (with 24 hours drying between each) until the wood won't absorb any more oil — you'll know this has happened when the oil sits on the surface rather than soaking in. Three to four coats is typical for most projects.
Final coat: For the smoothest possible finish, apply the final coat of oil with 1500-grit wet/dry paper, using the oil as a lubricant. This creates a fine slurry of oil and wood dust that fills any remaining micro-scratches and pores, leaving an extremely smooth surface. Wipe off the excess and allow to dry for 24-48 hours.
Optional wax topcoat: After the oil has fully cured (allow at least 7 days), you can apply a coat of beeswax or furniture wax to add a gentle sheen and extra surface protection. Buff with a soft cloth.
For a detailed breakdown of how many coats to use for different projects, see our guide: How Many Coats of Oil Are Required?
Tips for a better oil finish
Work in a warm, dry environment. Oil cures by oxidation, which is faster in warm, well-ventilated conditions. Cold or damp workshops will significantly slow drying times.
Wipe off ALL excess. Oil that pools on the surface rather than soaking in will dry as a sticky, uneven film. Always wipe the surface clean after each coat.
Dispose of oily rags safely. Oil-soaked cloths can spontaneously combust as the oil oxidises and generates heat. Spread used rags flat to dry outdoors before disposing, or soak them in water in a sealed metal container.
Be patient. Oil finishes build slowly. Resist the temptation to pile on thick coats or skip drying time — thin, well-absorbed coats with proper drying between them give the best results.
Oil vs lacquer: when to choose oil
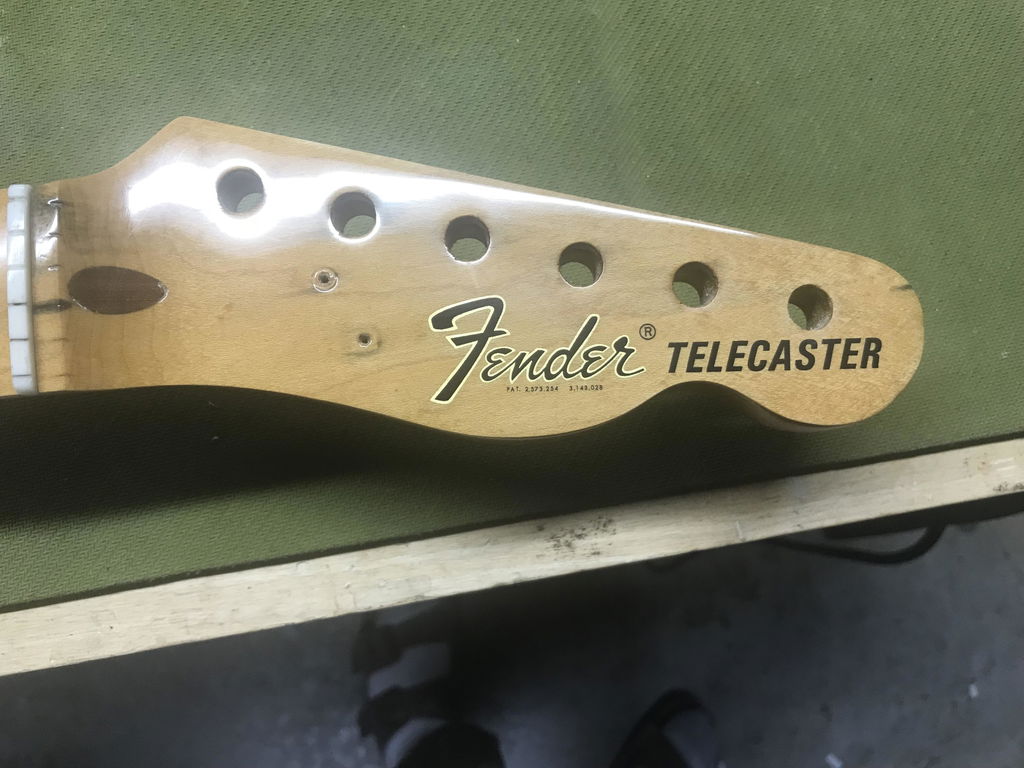
Choose oil when you want a natural, tactile finish that shows off the wood grain without a glossy film. Oil is ideal for guitar necks (comfortable to play), turned items, tool handles, cutting boards and furniture where you want a low-maintenance finish that can be easily refreshed by re-oiling.
Choose lacquer when you need a glossy, high-protection finish — guitar bodies, high-wear furniture surfaces, or any project where appearance and durability matter more than a natural feel.